Setting Up a Flow
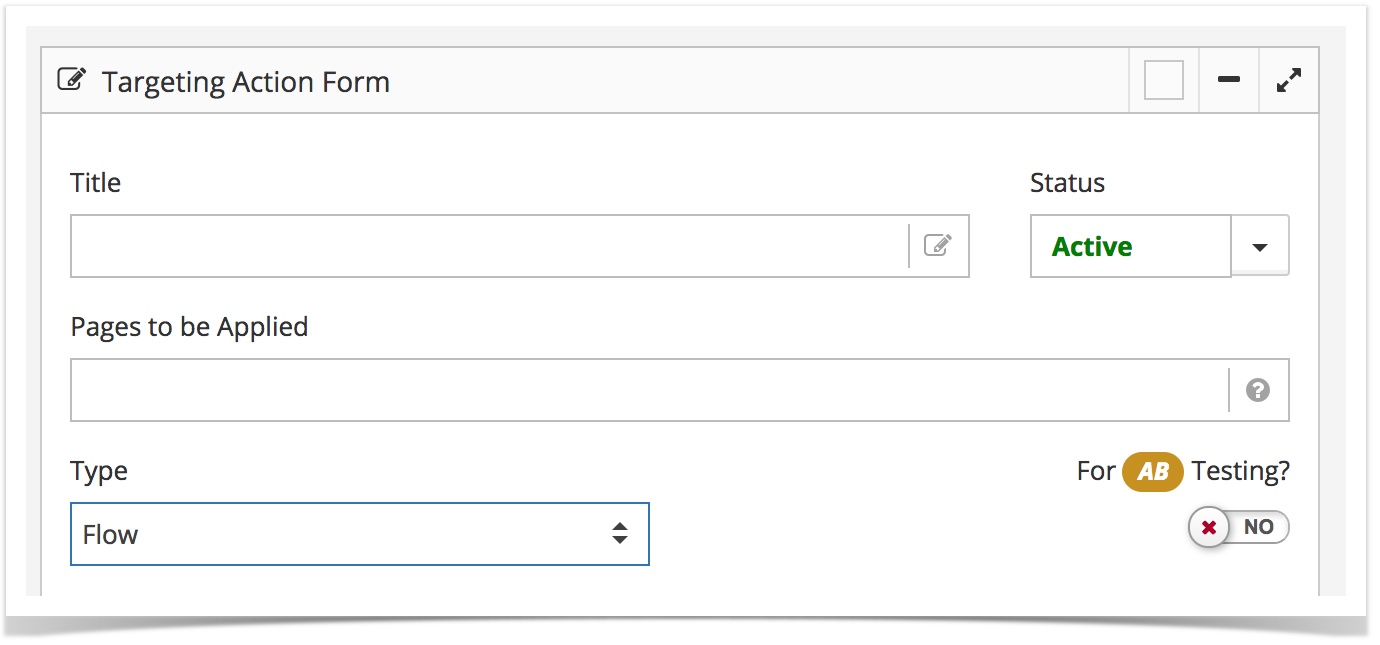
In the Title box type a Name for the Flow.
- Select Status:
When Activated: the Targeting Action starts when the page that contains the targeted content is activated.
When Deactivated: the Targeting Action ends when the page that contains the targeted content is deactivated.
- Type the page URL(s) where the pop-up will be shown. You can add multiple page URL's. Use comma (,) to separate multiple values. Type '*' to show pop-up on all pages across the entire site.
- Choose Flow from the drop down menu.
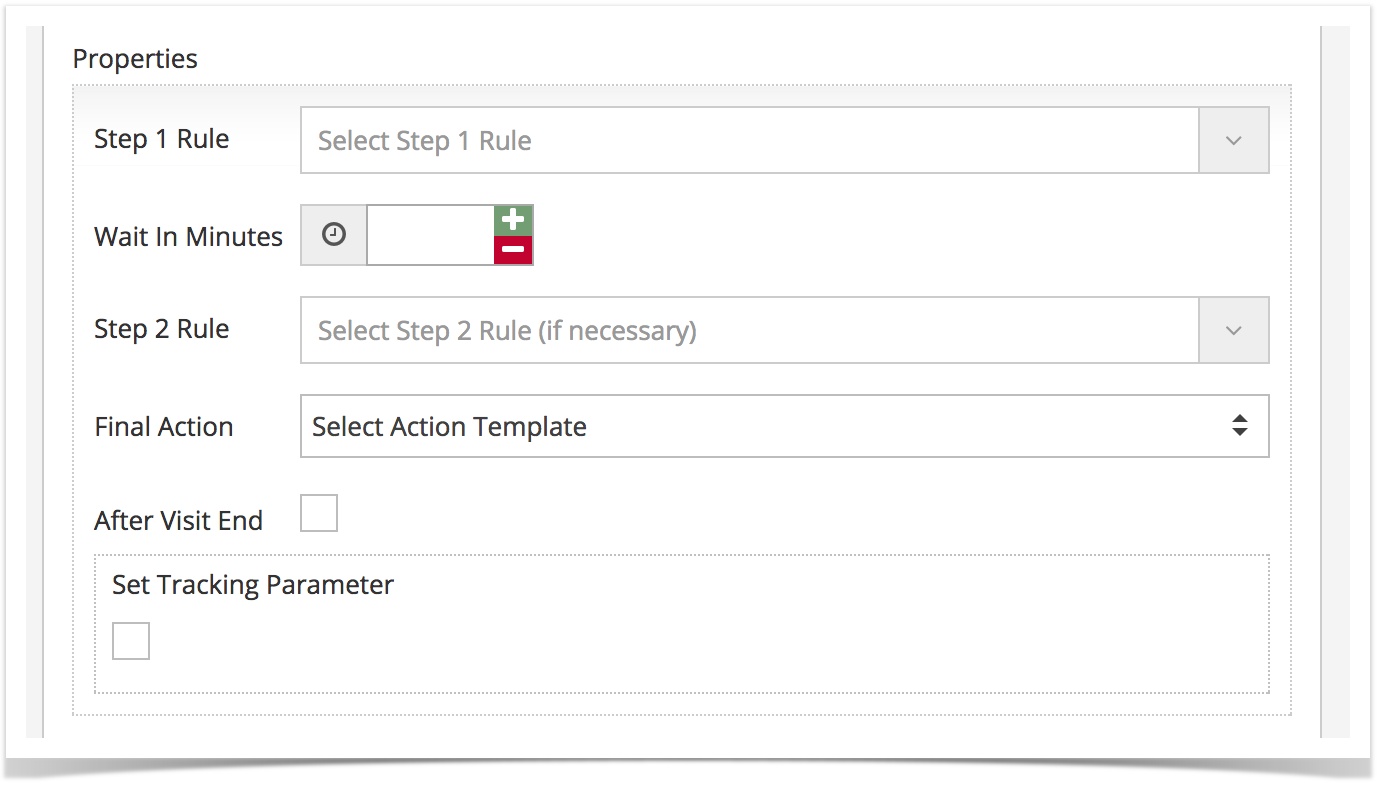
Designing the Flow
Rules are the checks that decide if the actions are undertaken on a segment of visitors. Select the first pre-defined targeting rule.
You need to create Targeting Rules first to be able to connect Targeting Actions to the appropriate visitor segments.
- Enter the time delay in minutes for the flow to wait without execution until the next targeted action.
- OPTIONAL Enter a second Targeting Rule to further segment your audience.
- Final Action is the campaign element that will be sent once the conditions are met.
- Send Push: Targeted and personalised Push messages for both android and iOS.
- Send SMS: Targeted and personalised SMS's.
- Send Widget as Email: Triggered emails with personalised product recommendations. (Recommend module is required to be able to use this option).
- Send Push: Targeted and personalised Push messages for both android and iOS.
- Select the "After Visit End" option to end the journey right there, unconditionally.
- OPTIONAL Select Set Tracking Parameter and add a Tracking Value to track and measure the results of your campaign.
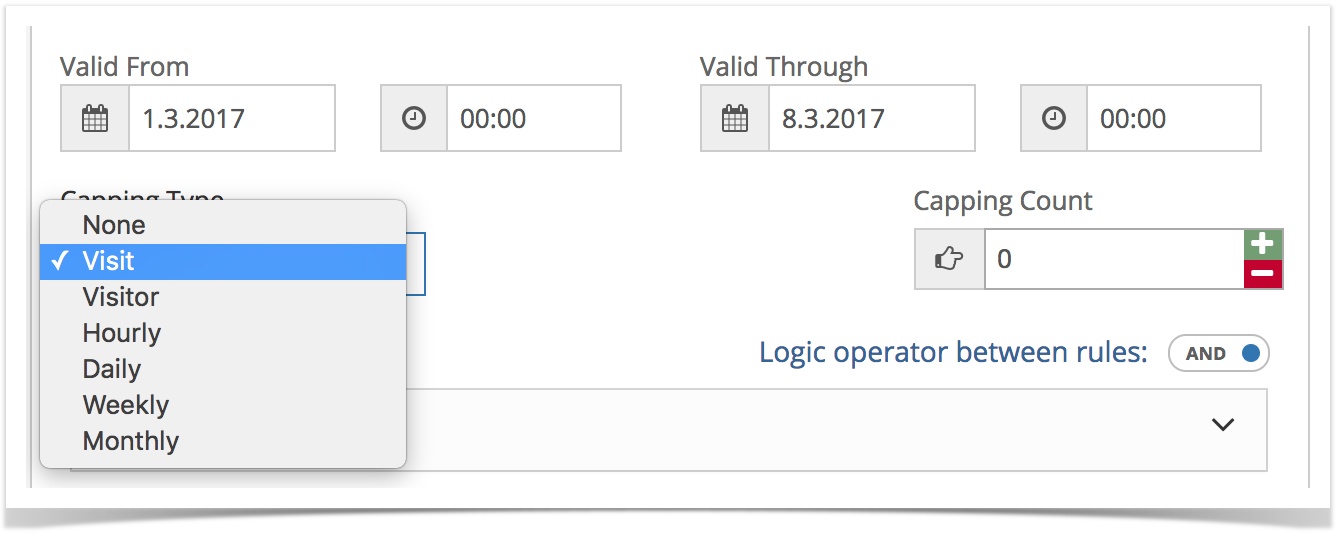
Scheduling and Setting Delivery Limitations
Define the time frame for the show Flow action:
Valid From – date and time from which the Flow will be applied.
Valid Through – date and time after which the Flow action will no longer be applied.
OPTIONAL Use Capping to apply delivery limitations to the pop-up. RMC supports the following limitations:
- Limiting delivery by Visit: if set, RMC will not apply the Flow action more than the specified number of times (capping count) during a single visit.
- Limiting delivery by Visitor: if set, RMC will not apply the Flow action more than the specified number of times (capping count) to a given visitor, across all visits.
- Limiting delivery by the Hour / Week / Month: if set, RMC will not apply the Flow action more than the specified number of times (capping count) hourly, weekly or monthly.
- Limiting delivery by Visit: if set, RMC will not apply the Flow action more than the specified number of times (capping count) during a single visit.
Testing and Optimising
An A/B test compares two or more versions of your targeting actions to see which best lifts your conversions, sales or other metrics you identify.
Use an A/B test to compare changes to your page against your default page design to determine which actions produces the best results.
See A/B Testing, for more information.
If you select the A/B Testing option, your targeting action will only be used for testing purposes and will not be displayed otherwise.

Parent Topic: Targeting Actions