Targeting Actions
- Melih Ayhan (Unlicensed)
Creating a New Targeting Action
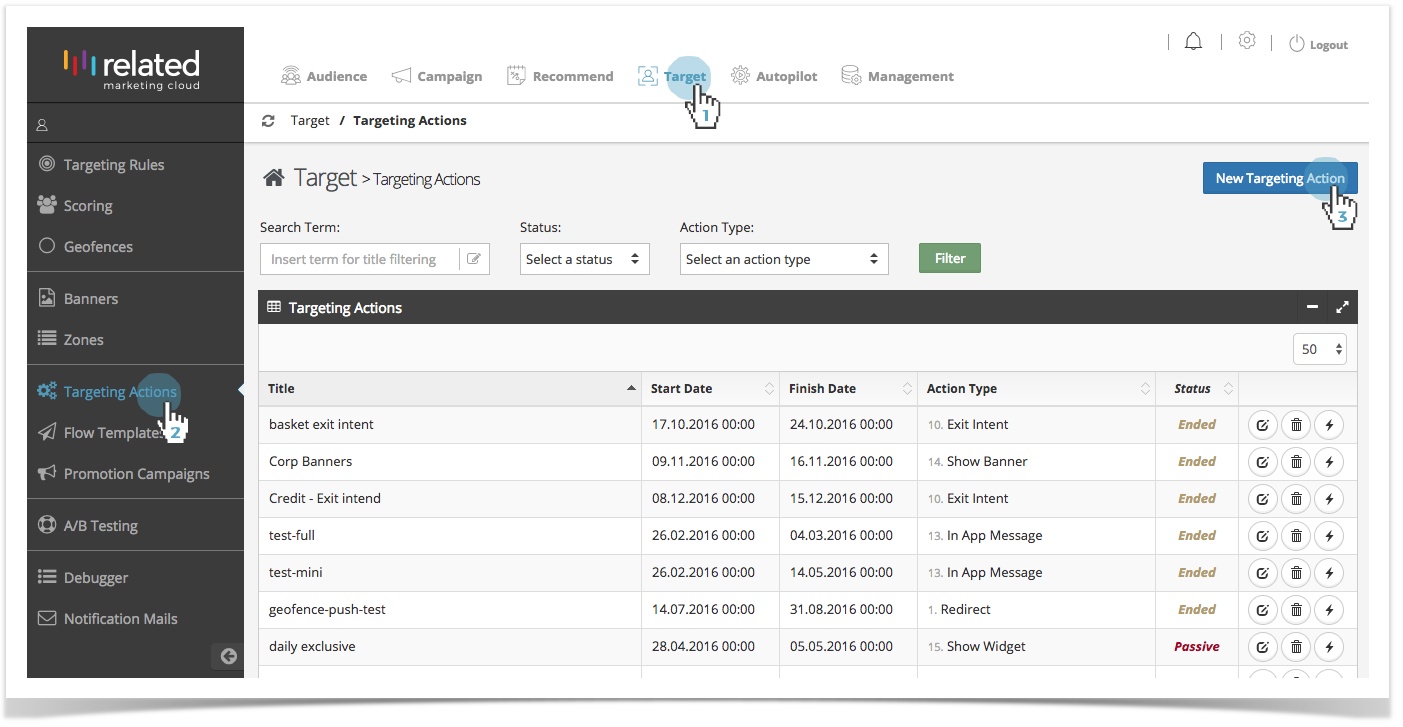
- Click Target in the top menu bar.
- Select Targeting Actions.
- Click New Targeting Action, or,
To copy an existing action, click the Edit icon to edit and create a similar activity.
1. Add Pages
Pages are the "where" of personalisation. They're the sections of your site where you'll modify the experience and track behaviour.
First, tell RMC the places on your website where you will deliver targeted experiences.
A page can be:
- A single URL where you want to deliver a personalised experience (like your Homepage, Product Detail page, Checkout page, Order Confirmation page)
- A pattern of URL's that all share the same template (like all the Product Detail pages on an ecommerce site)
- Or a page can be your entire site. Type '*' to deliver the same personalised experience across your entire site.
When you create a targeted action, you can choose one or more pages where you'll deliver the experience. Page selection is also an important factor when you are testing experiences. You can use conversions on a page to measure the impact of a targeted campaign: did the new experience increase conversions from the checkout page?
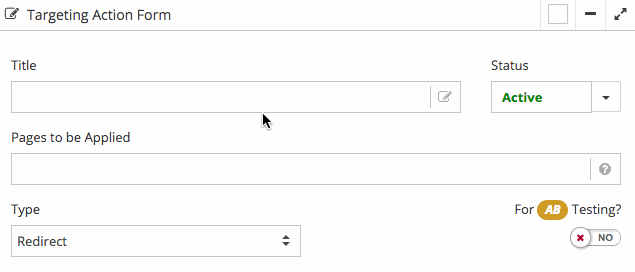
2. Select the Type of Content
Content represents the "what" of personalisation. Creating content that engages your audience is vital for a successful personalisation campaign. RMC offers a wide range of options to change and add content to your site.
Show product stats, insert promotional banners, pop-ups, custom JavaScript, product/content recommendations, and many more unique customised elements. Also make changes to your page, hide, delete, re-write and alter any existing page element.
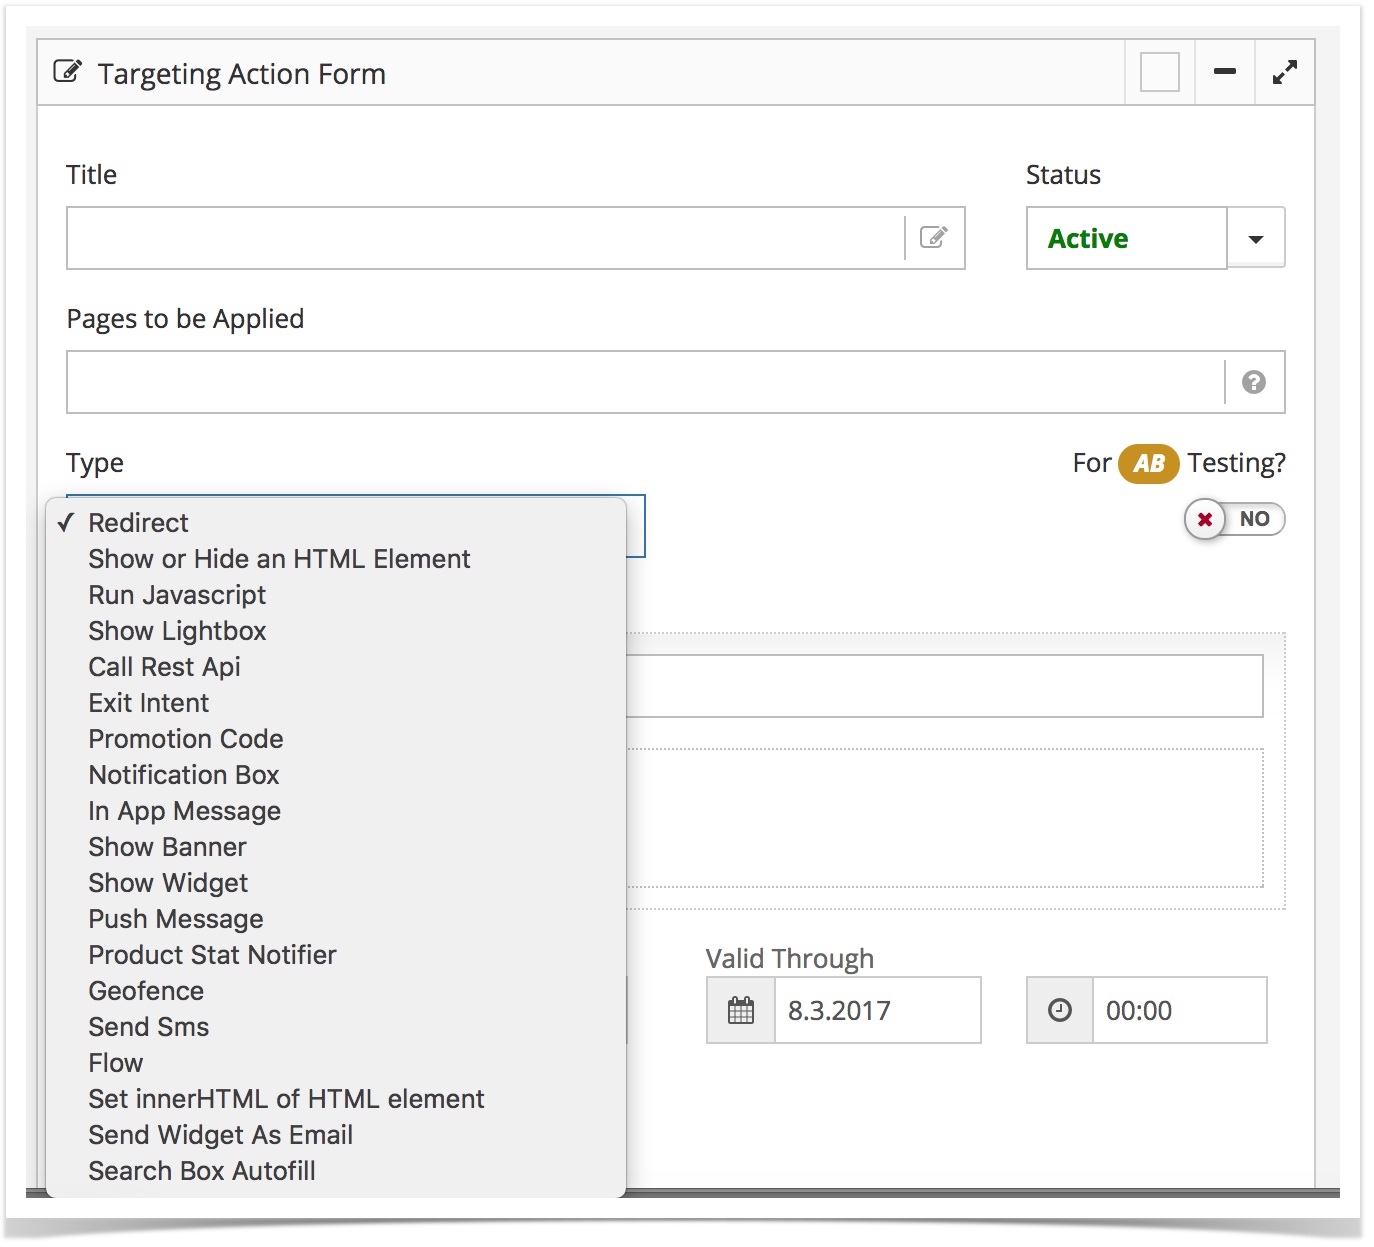
- Redirect – Performs a page redirection, by specifying the target URL, every time that a segment linked to the action is matched.
Show or Hide an HTML Element – Shows or hides and HTML Element on a given page, every time that a segment linked to the action is matched.
Run JavaScript – Executes custom JavaScript in a page.
Show Lightbox – Displays a relevant lightbox popup every time a segment linked to the action is matched.
Call Rest API – Calls a Rest API whenever a visitor reaches any of the pages specified in the action.
Exit Intent – Tracks the cursor movement of a visitor and targets them with relevant messages as they try to leave the page.
Promotion Code – Displays a personalised popup with a relevant promo code every time that a segment linked to the action is matched.
Notification Box – Displays a relevant notification box every time a segment linked to the action is matched.
In App Message – Displays personalised in-app message based on user profile data and in-app behaviour.
Show Banner – Displays personalised banners based on visitors onsite behaviour and profile data in a popup.
Show Widget – Shows a personalised product recommendation in a popup every time that a segment linked to the action is matched. (Recommend module is required to be able to use this feature).
Push Message – Sends a personalised Push message for both android and iOS, every time that a segment linked to the action is matched.
Product Stat Notifier – Displays the number of people currently viewing the product.
Geofence – Targets your app users with relevant and engaging push notifications as they enter, exit or dwell within a predefined geofence.
Send SMS – Sends targeted, personalised SMS's every time that a segment linked to the action is matched.
Flow– Automatically follows-up on website activity with a targeted push, SMS or email message.
Set inner HTML of HTML element – Used to set the innerHTML property of an HTML element specified by the element ID on the page.One of the areas of use for this action is to personalise the text area in a particular DIV.
Send Widget as Email – Sends a personalised product recommendation in a targeted email every time that a segment linked to the action is matched. (Recommend module is required to be able to use this feature).
Search Box Autofill – Autofills onsite Search Box with the last searched keyword or searched category name.
3. Choose your Audience
Next, decide "who" will see your targeted action. If you do not choose an audience your targeted action will be shown to everyone who visits your site.
Click on Target Rules to add any existing audiences to your campaign. Or, go to Target > Targeting Rules to build a new audience you would like to deliver a targeted experience to.
You can choose more than one audience, but make sure you use the appropriate AND or OR logical operator to combine them. Any new rules you add with the "OR" condition will expand your audience (to include any visitor who meets your first set of rules or your second set of rules), while rules added with the "AND" conditions might shrink your audience (by requiring audience members to meet both first and second set of rules).

Testing and Optimising Targeted Actions
An A/B test compares two or more versions of your targeting actions to see which best lifts your conversions, sales or other metrics you identify. Use an A/B test to compare changes to your page against your default page design to determine which actions produces the best results.
See A/B Testing, for more information.
If you select the A/B Testing option, your targeting action will be used for testing purposes only.
Validating a Targeting Action
After you have created a Targeted Action, you should verify that it works as expected.
See Debugger for more information.
Managing Existing Targeting Actions
The initial page of Targeting Actions (Target >Targeting Actions) displays a list of previously defined Targeting Actions. Filtering enables you to quickly see Active and Passive actions by Type.
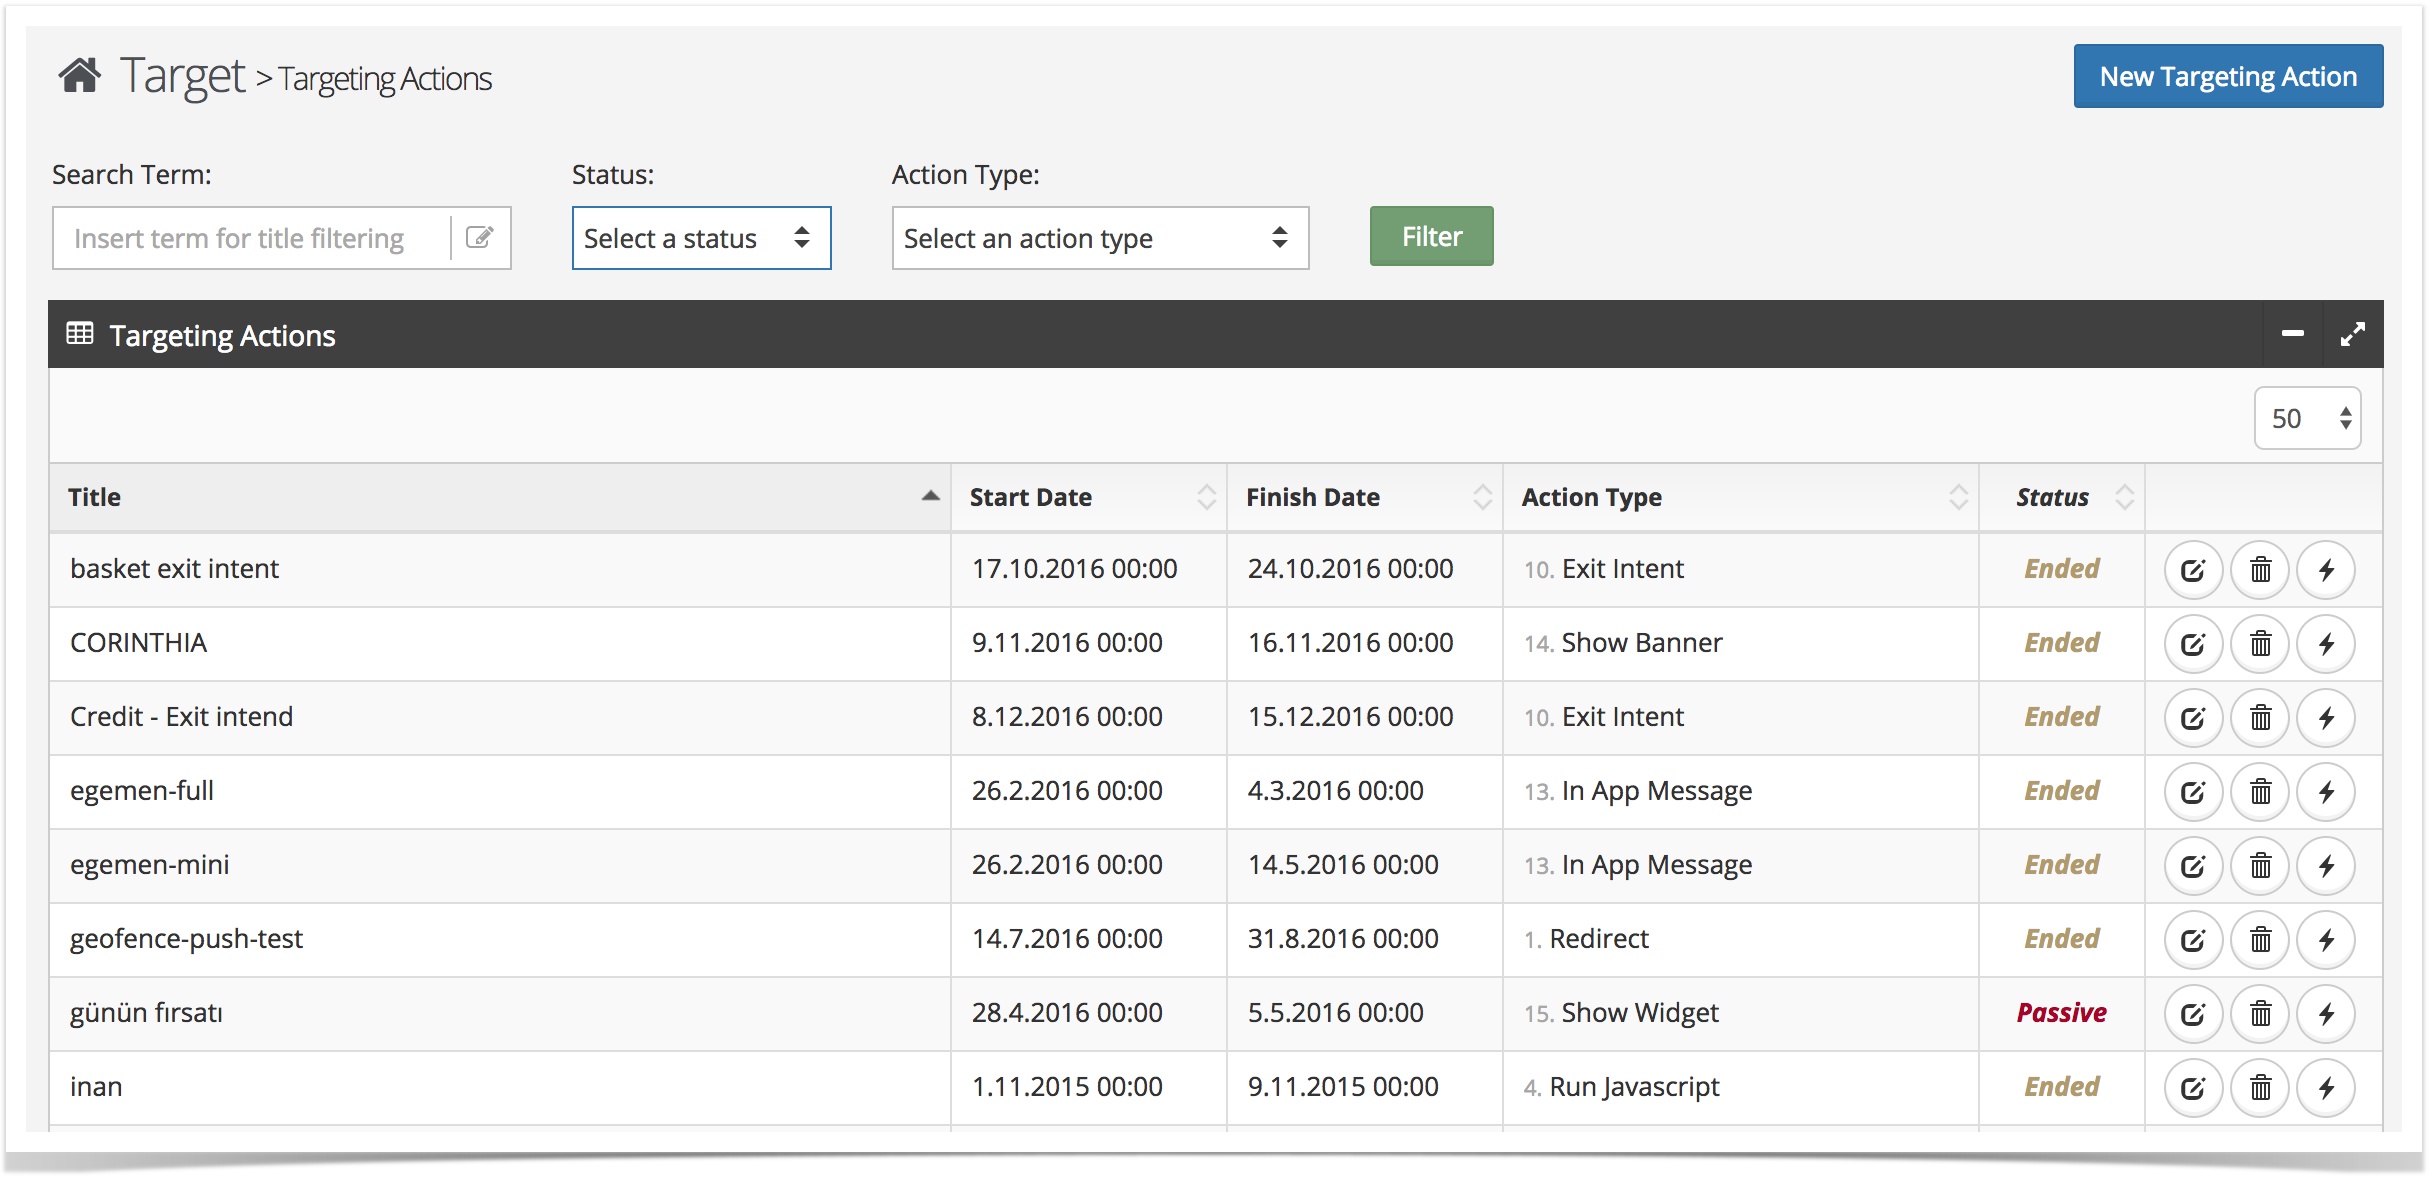
To manage existing Targeting Actions, use the following options:
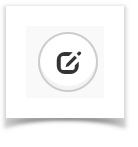 – opens Actions' editing interface, where you can configure applied pages, rules, content and more.
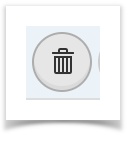 – deletes the Action.
 – changes the status (Active / Passive) of the Action.
Analysing and Sharing the Results of your Targeted Actions
Each Targeted Action you create is monitored by RMC for standard metrics such as impressions, clicks, conversion and revenue, which are available in the Performance Dashboard (Target > Performance Dashboard). You can easily share the results of your personalisation campaigns by email or by exporting your data into a .csv file.
Parent Topic: Rule Based Targeting
Related content
Copyright 2020 Related Digital