RMC - Web Push
- Melih Ayhan (Unlicensed)
- Berk Topaloğlu (Unlicensed)
- Nurçin Kandemir (Unlicensed)
- Baran Teloğlu (Unlicensed)
Setup A Web Application on RMC
Go to; Cog Icon > Campaign Management > Campaign Settings > Push Applications > New Website to setup a web application.

Web Push SDK installation steps vary according to site security protocol;
- HTTP: Steps to be taken into consideration while installing Web Push SDK for http://URL websites.
- HTTPS: Steps to be taken into consideration while installing Web Push SDK for http://URL websites.

- Website Name: Your website name. HTTPHTTPS
- Website Address: Your website address www.domain.com HTTP HTTPS
- Https: It is marked when you want to setup for web sites running in HTTPS protocol.. HTTPS
- Branded Subdomain: The branded subdomain address to be redirected during opt-in process HTTP
Your site's notifications appear as a subdomain of relateddigital.com instead of your domain name. - Default Cookie: The name/key of the cookie including the member info/ID in your web site.HTTP HTTPS
- Default Title: Default Title for asking permissions and web push campaigns. HTTP HTTPS
- Default Text: Default Text for asking permissions and web push campaigns. HTTP HTTPS
- Default Icon: Default icon for asking permissions and web push campaigns. HTTP HTTPS
Maximum sizes are 192x192 px.
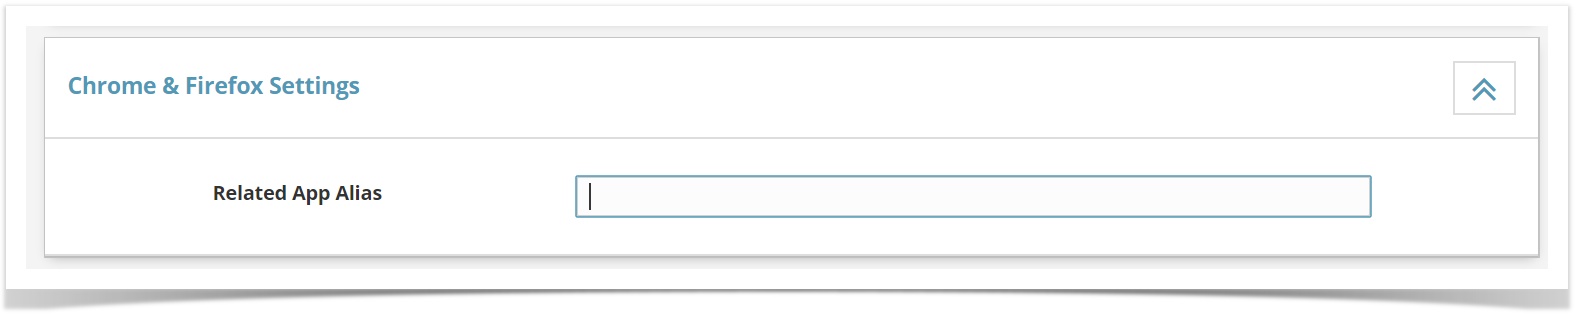
- Related App Alias: You should decide your Related App Alias. For example; related_webpushapp.
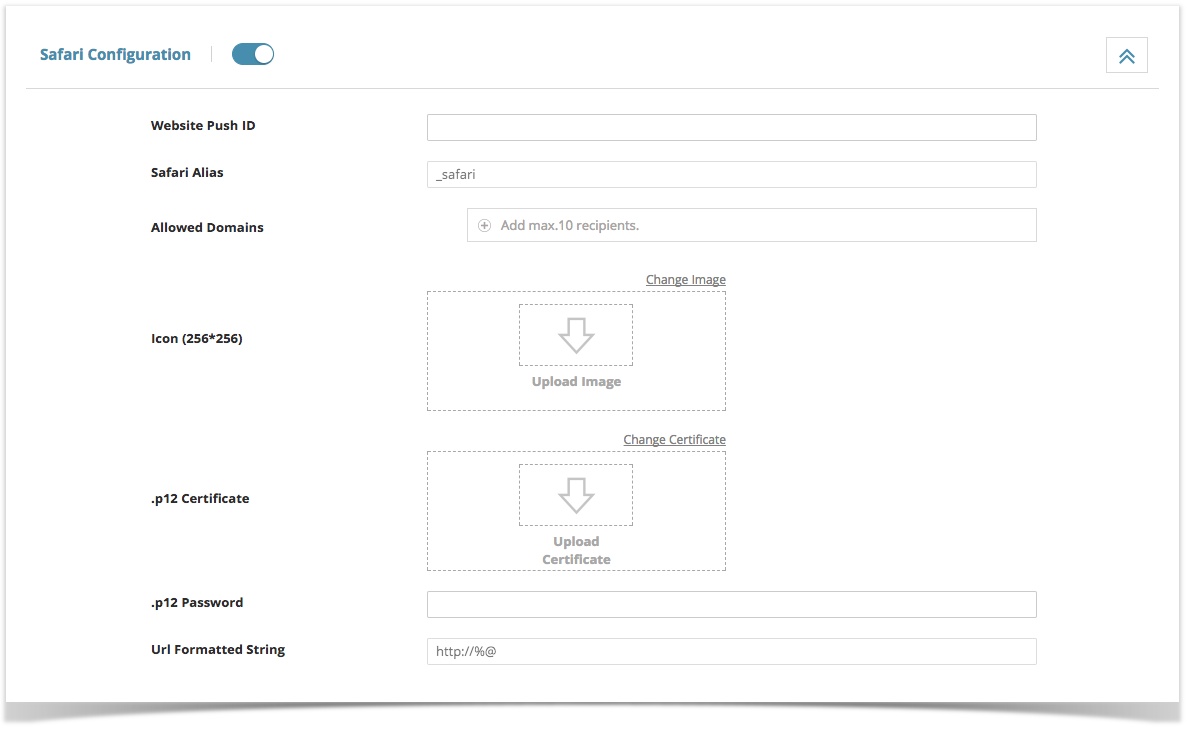
- Website Push ID :The push ID value obtained with the Apple Developer Account.
- Safari Alias: Your web application name alias for safari configuration.
It is highly recommended, put _safari after your Related App Alias (denoted on Chrome & Firefox settings part) while naming your application. Your Safari app will appear in the Websites field with the name you give here when you create a web push campaign.
- Allowed Domains: The websites addresses where users are allowed to request permission.
- Icon: Your website icon.
The icon must be 256×256 px.
- .p12 Certificate: Upload .p12 certificate created with Apple Developer Account.
- .p12 Password: The password for the .p12 file.
- Url Formatted String: Target URL to go to when the notification is clicked.
Use %@ as a placeholder for arguments you fill in when delivering your notification. This URL spelling must contain http or https; otherwise, it is invalid.
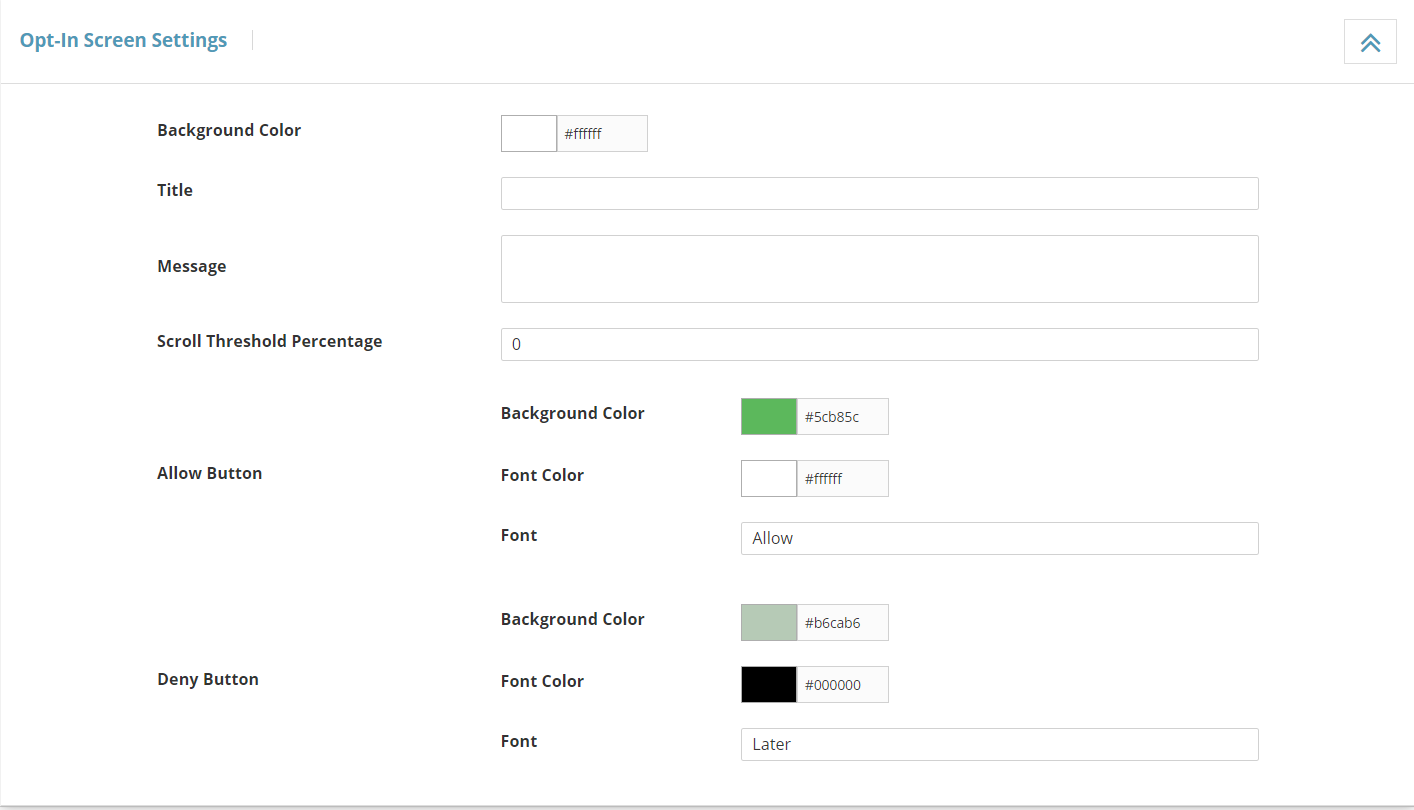
- Background Color: Choose a background color for opt-in screen.
- Title: Enter a default title for opt-in screen.
- Message: Enter a default message for opt-in screen.
- Scroll Threshold Percentage: If the permission screen is requested to appear after the user has seen what percentage of the page, that value is entered.(It can be entered as "1" if it is desired to appear when visiting the page.)
- Allow Button: Style configurations for sign up button.
- Background Color: Background color for sign-up button.
- Text Color: Text Color for sign-up button.
- Text: Enter the text for sign-up button. (eg, Allow, Accept, Yes etc.)
- Deny Button: Style configurations for reject button.
- Background Color: Background color for reject button.
- Text Color: Text Color for reject button.
- Text: Enter the text for sign-up button. (eg, Deny, Ignore, No etc.)
Opt-in Process
RMC, during web push subscription process, in case of non-member users wanting to join again, allows browsers to register via the Opt-In screen primarily instead of using native alerts.
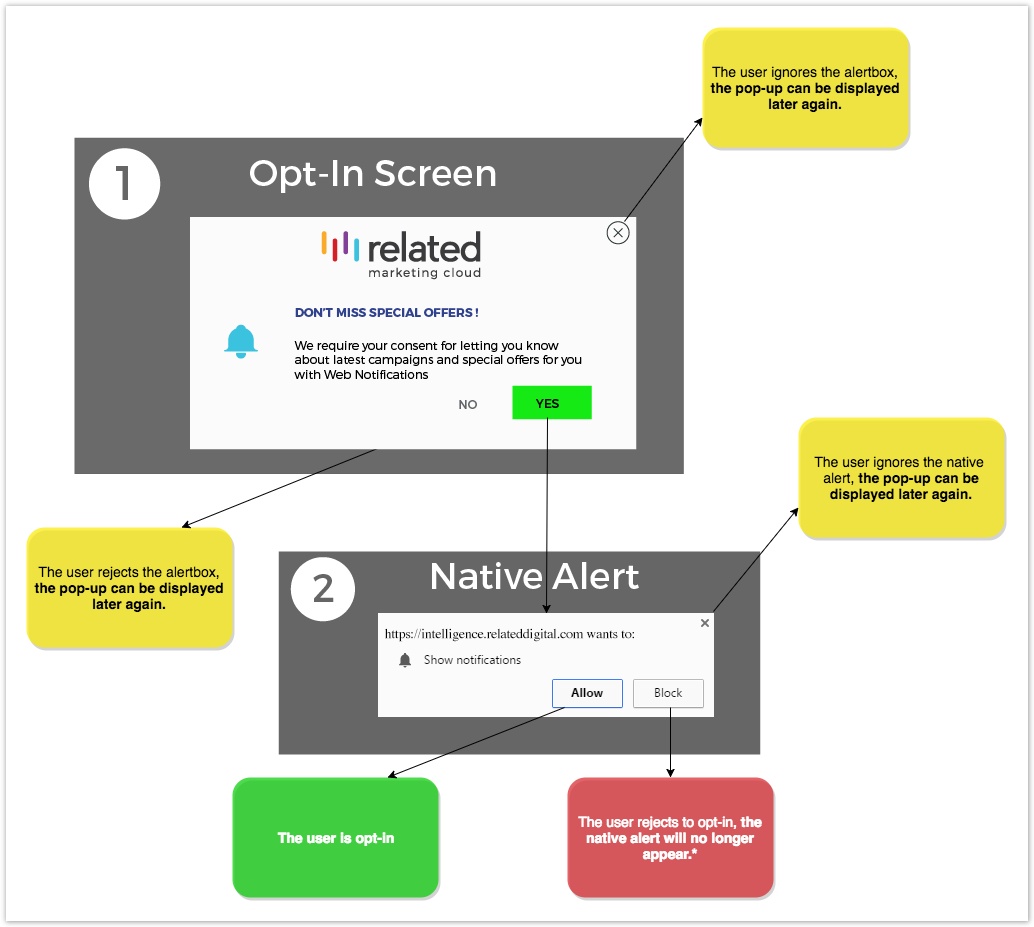
*If the visitor does not activate the notification approval from browser settings again.
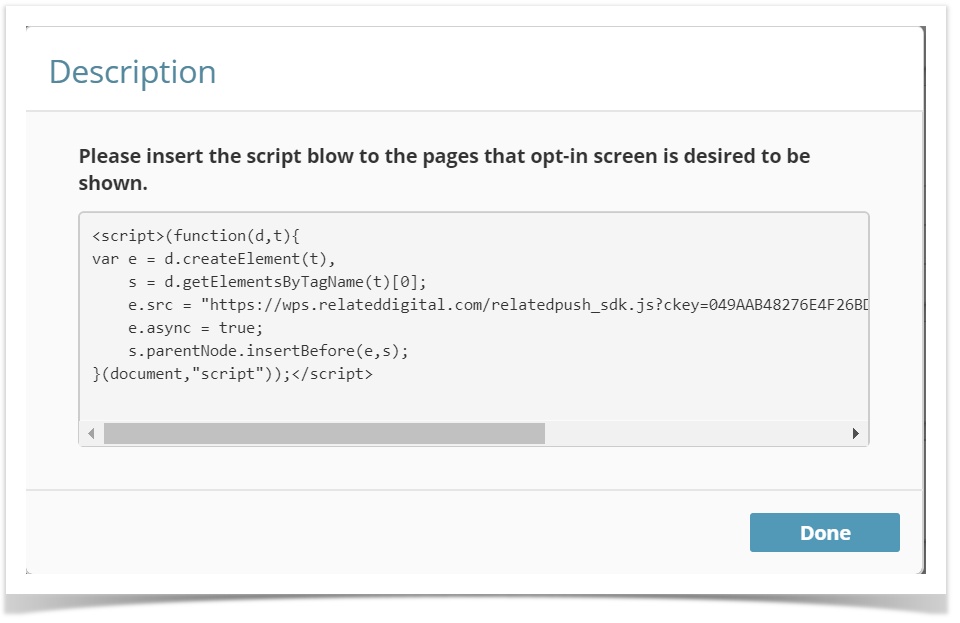
Add Codes and Files to Your Site
If your website supports HTTPS, you should add the relatedpush_sw.js file in the root folder of your site.
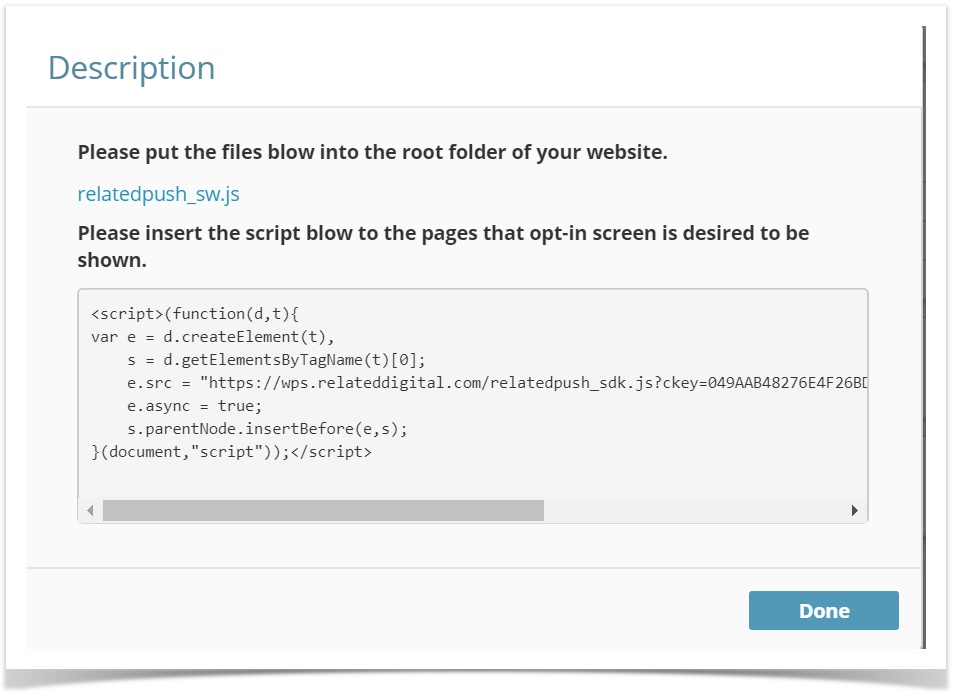
After completing the required fields, you will find scripts and files created specifically for your configuration on the pop-up. After these scripts and files are added to the places specified in the pop-up, the web push installation is completed. Now, you may proceed to Web Push - Create page to start your first web push campaign.
Related content
Copyright 2020 Related Digital