Continue the Conversation from an Email Campaign
- Melih Ayhan (Unlicensed)
- Nurçin Kandemir (Unlicensed)
Introduction
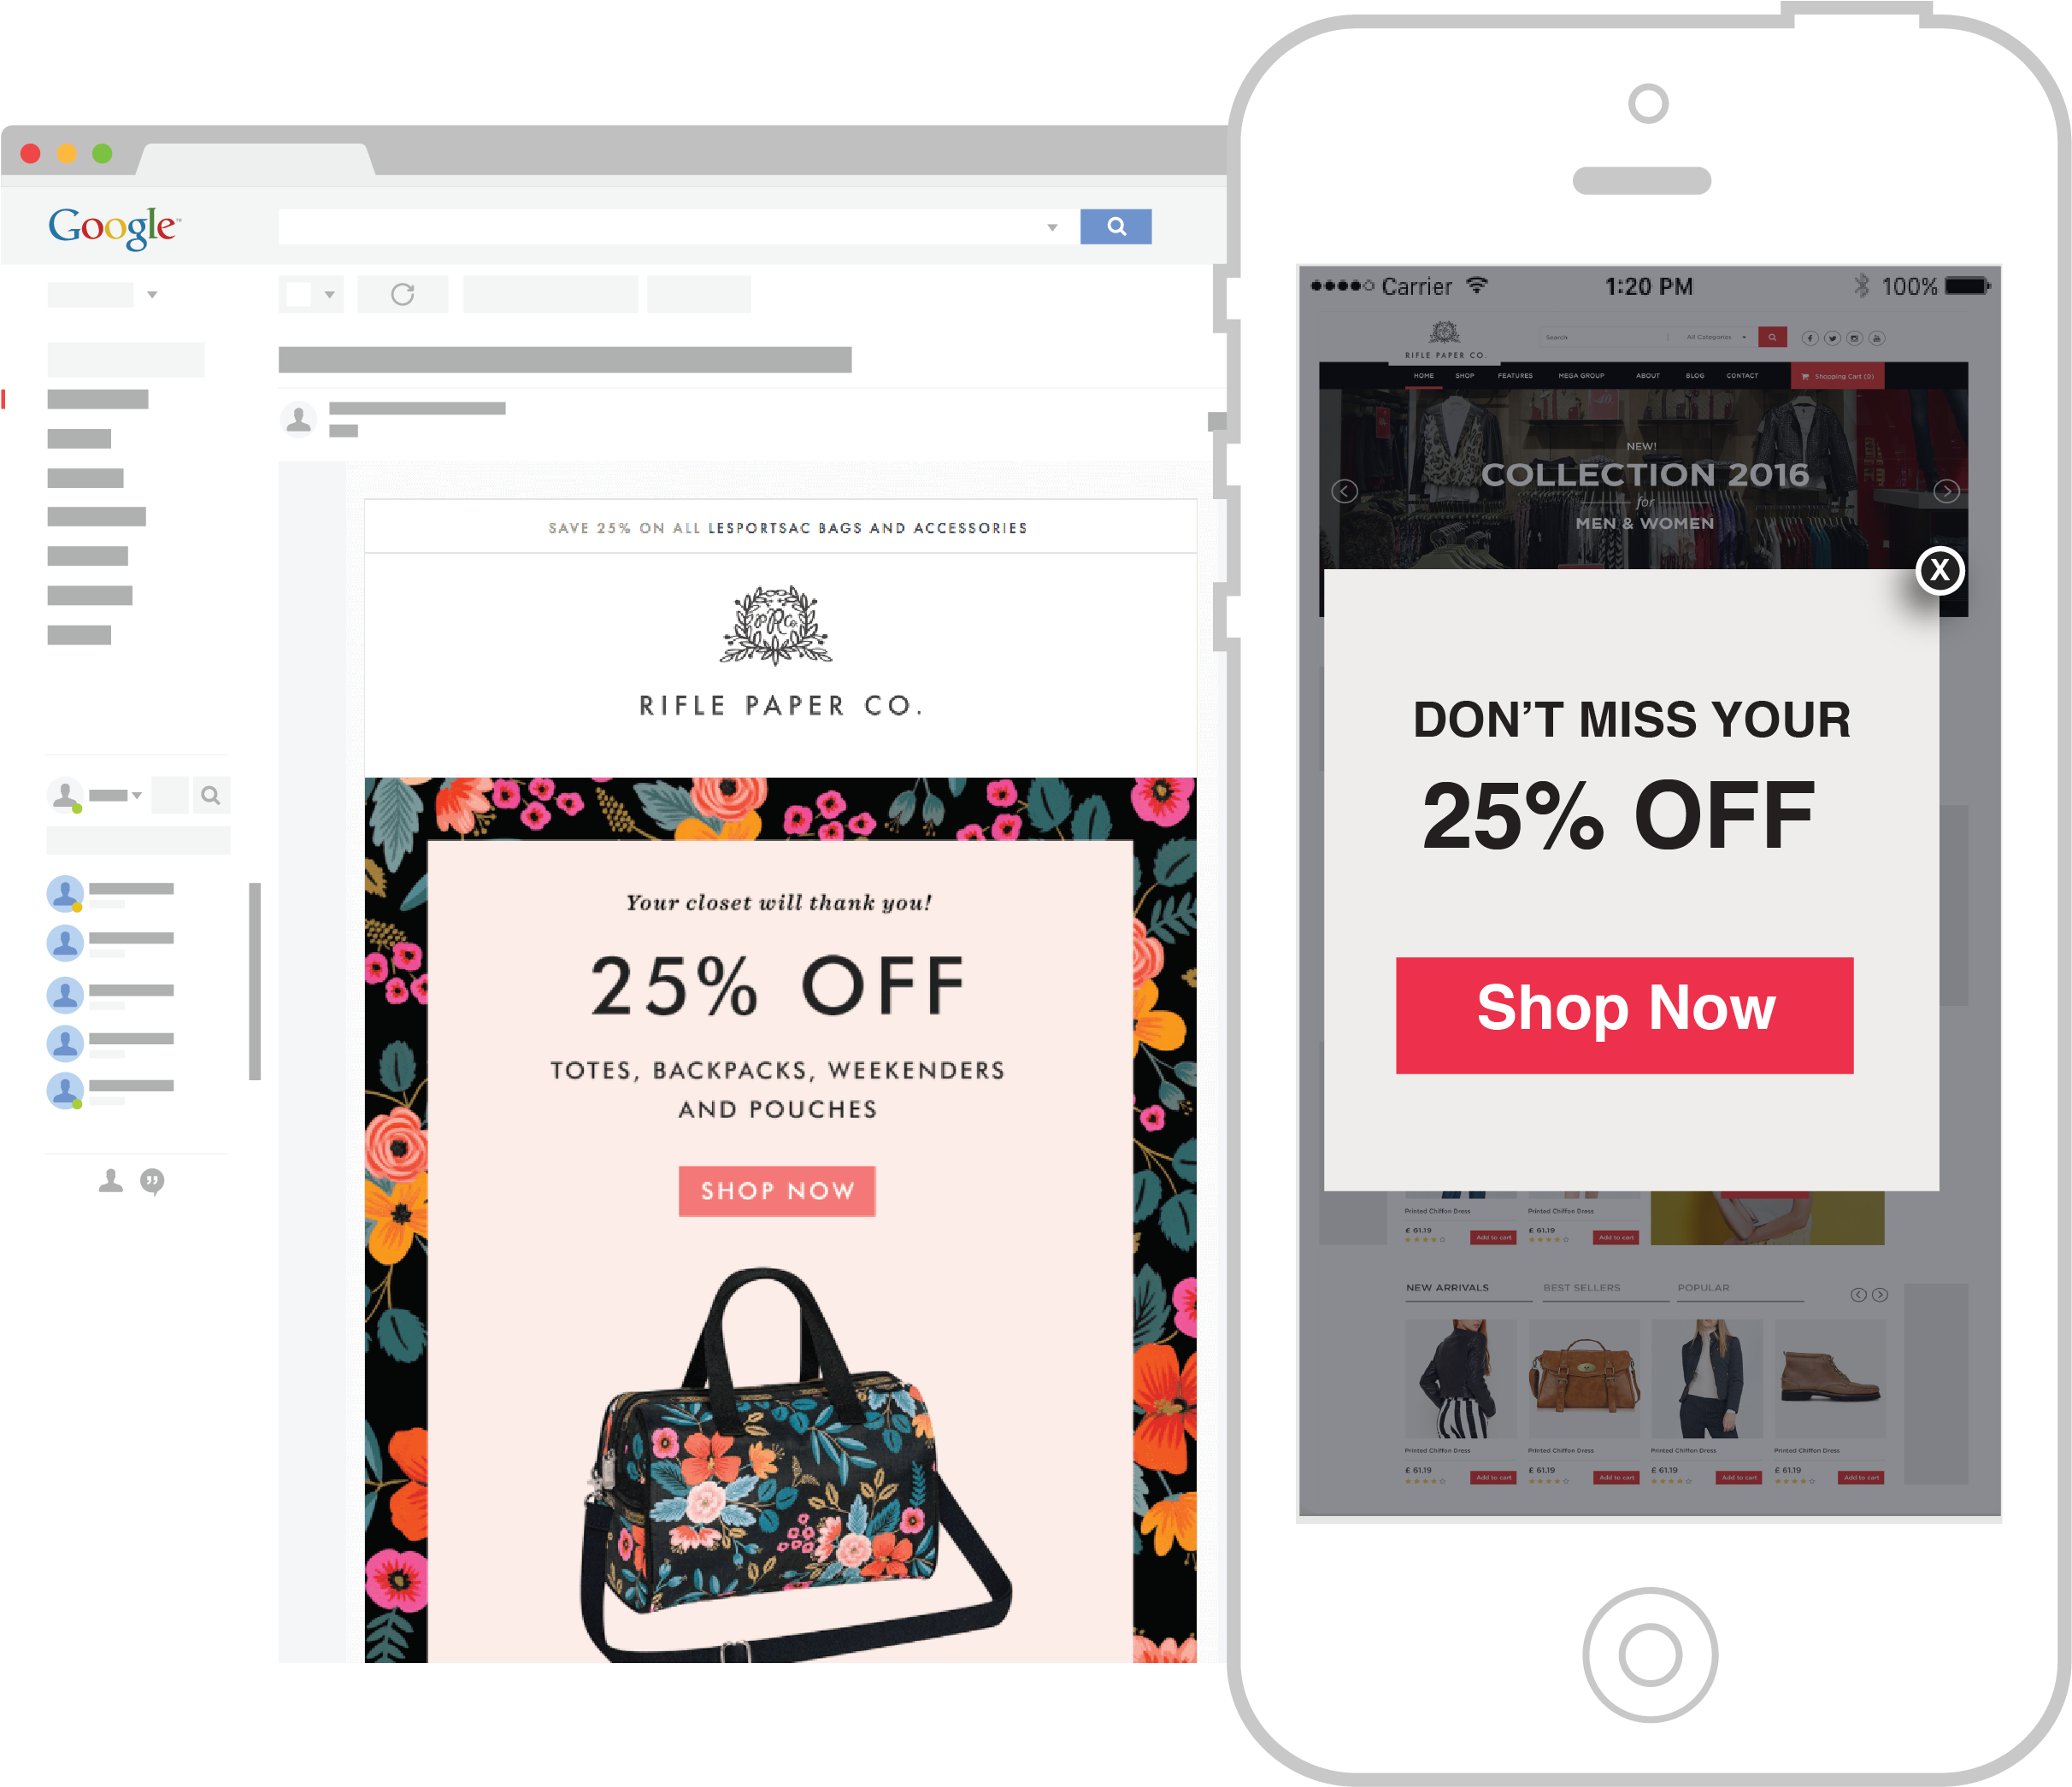
Email marketing is one of the most effective tools to drive visitors to your site. These emails can be promotional or transactional such as a coupon included on a post-purchase email that can be redeemed on a subsequent purchase. The goal is to get potential buyers to click the CTA that links them to a specific part of your site and make a purchase during their visit. However, it is easy for visitors to get distracted and forget about the offer they have received in the email.
Presenting a seamless and personalised experience from email campaign through promotional welcome messages on your site that is relevant to the individual can encourage these shoppers to become buyers and increase the overall success of your marketing efforts.
Example
With RMC Target, you can easily identify visitors from various marketing channels based on the UTM parameter in the landing URL. You can easily continue the conversation from an email campaign as soon as your shopper arrives on your site.
How To Create This Playbook
1. Create a Targeting Rule
Create a rule to show pop-up to visitors coming from a specified email campaign:
- Go to Target > Targeting Rules > New Targeting Rule
- In the Title box enter a Name for your rule.
From the Criteria List, select the
Visit - define the campaign the visitor needs to come from to display the pop-up, Campaign Name - Matched - YourCampaignName (YourCampaignName must have the same value as your campaign utm parameter).
- Click Save to add new rule.
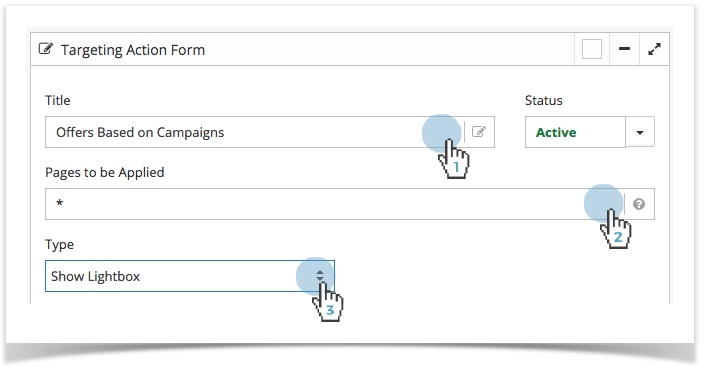
2. Create a Targeting Action
- Go to Target > Targeting Actions > New Targeting Action
- In the Title box enter a Name for your targeting action.
- Type '*' in the "Pages to be Applied" field to enable this pop-up on all pages across your entire site.
- Select "Show Lightbox" for the Type.
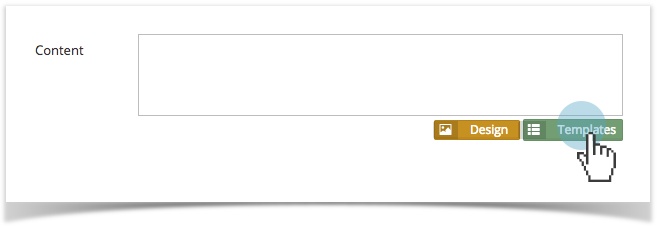
- You have different options to add Content to your Lightbox:
- Simply Copy and Paste your own Lightbox HTML to the Content area.
OR - Select from the built-in Templates and update content with the Design HTML option.
- Simply Copy and Paste your own Lightbox HTML to the Content area.
- Select a Date Range for the banner to display.
- Find and select the Targeting Rule you have created above from the Target Rules list.
- Click Save to add new action.
Copyright 2020 Related Digital